
Viewing Custom ArcGIS Maps
Mavtrek is able to natively use maps defined by your GIS team in our application without having to upload them on a schedule. Changes made by the GIS team are immediately available in Mavtrek. To view a custom map defined in Mavtrek in a map scene, follow these steps
Navigate to the Map Scene
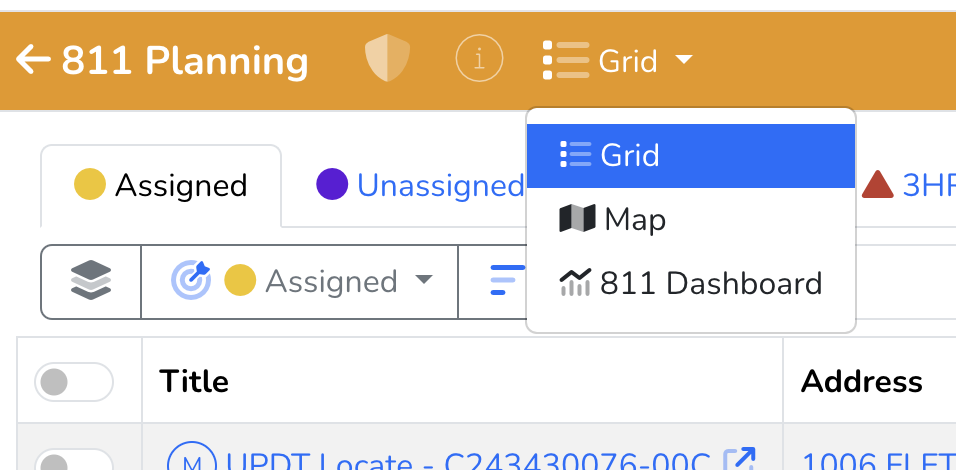
- Login to Mavtrek and select the App that you want to view the Map Scene.
- From the Scene dropdown, select the Map Scene to open the map view.
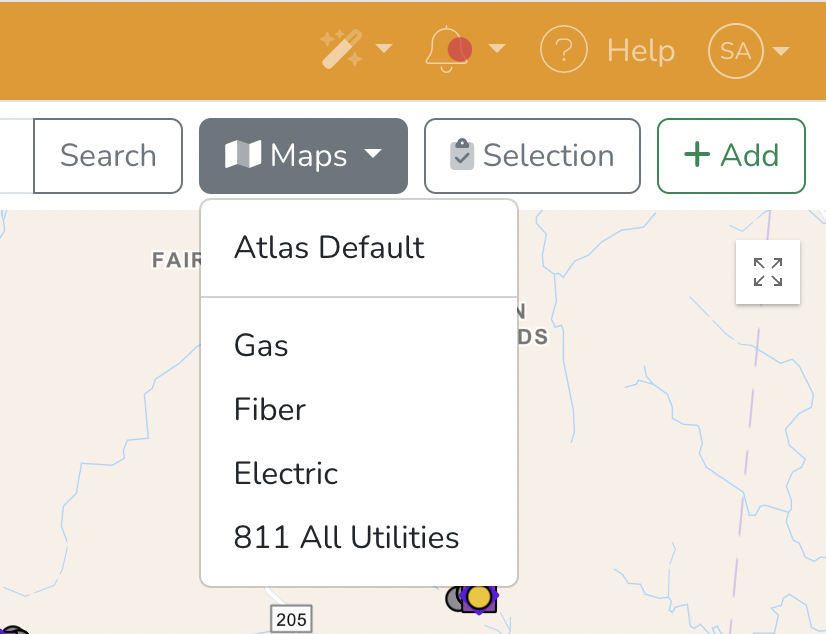
Open the “Maps” Dropdown
- Click on the “Maps” dropdown button to display maps available to use.
- Listed as the first option in the dropdown, you will see “Atlas Default”, which is the ESRI World Basemap.
- Below the separator line, custom defined maps defined for your account are listed.
- Click on one of the custom defined maps to switch the map view.
ArcGIS Online Authentication Requirement
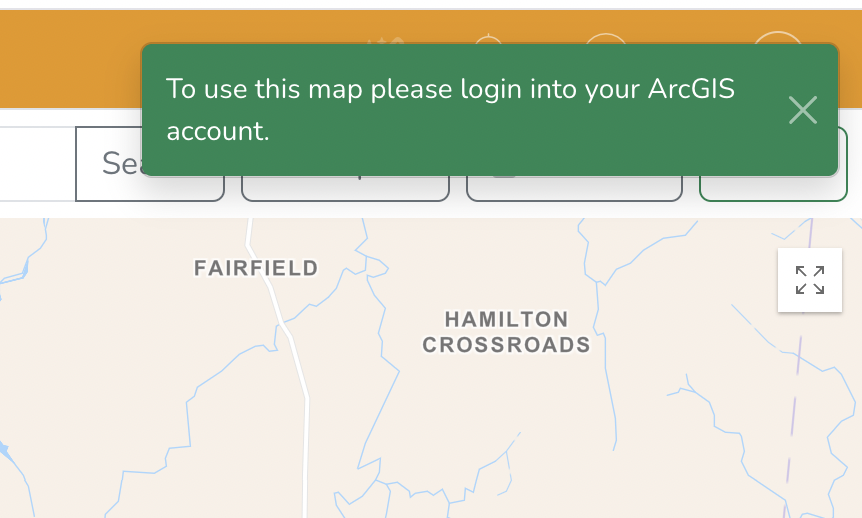
- If you receive the following warning message:
- “To use this map please log in to your ArcGIS account.”
- Connect your Mavtrek account to your ArcGIS Online account
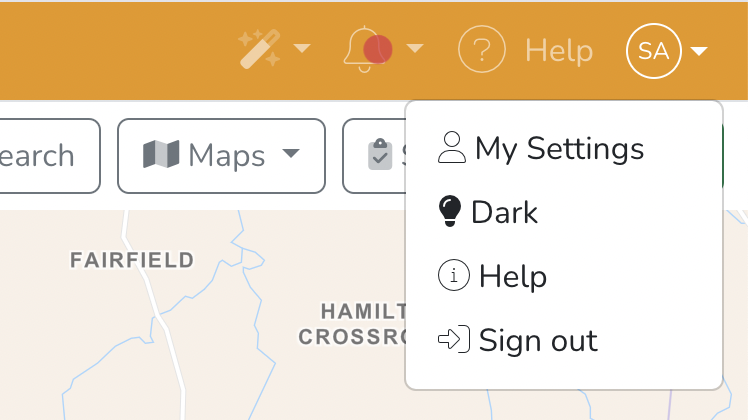
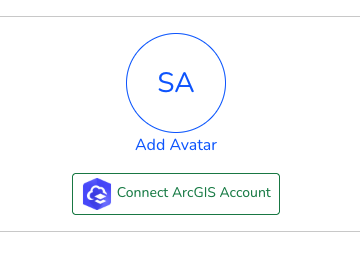
- Navigate to your Profile by clicking your initials and selecting “My Settings”.
- Once on your Profile
- Click the “Connect ArcGIS Account” button to login to ArcGIS and connect it to Mavtrek.
Addition of Custom Maps
- Contact your GIS team if you would like one of your internal GIS maps added to Mavtrek.
- We will coordinate with them to define and add the custom map to your application.